


To create a template for uploading an upload in Google Shopping (XML) format, open the "Upload product catalog" window by clicking on the shortcut on the desktop
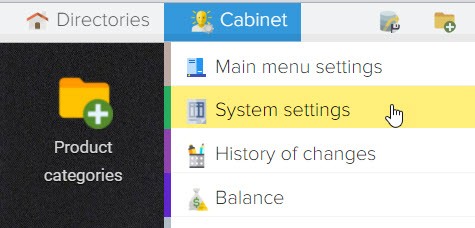
or by selecting the menu item
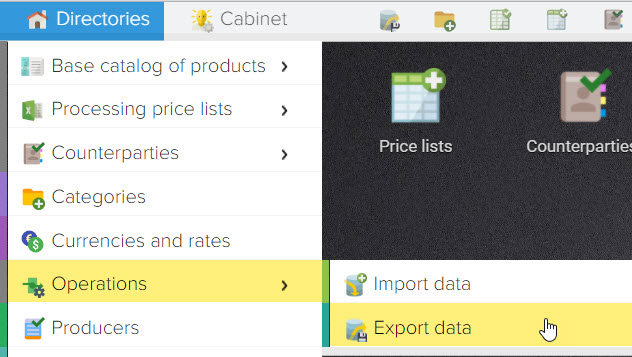
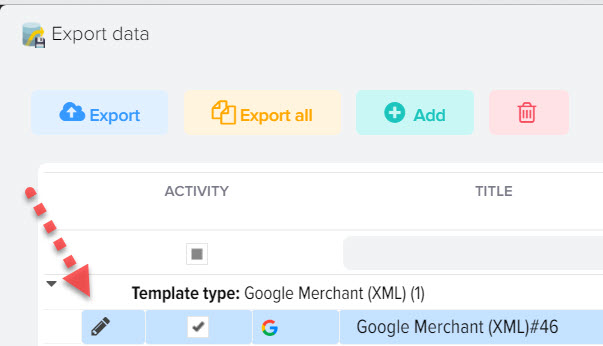
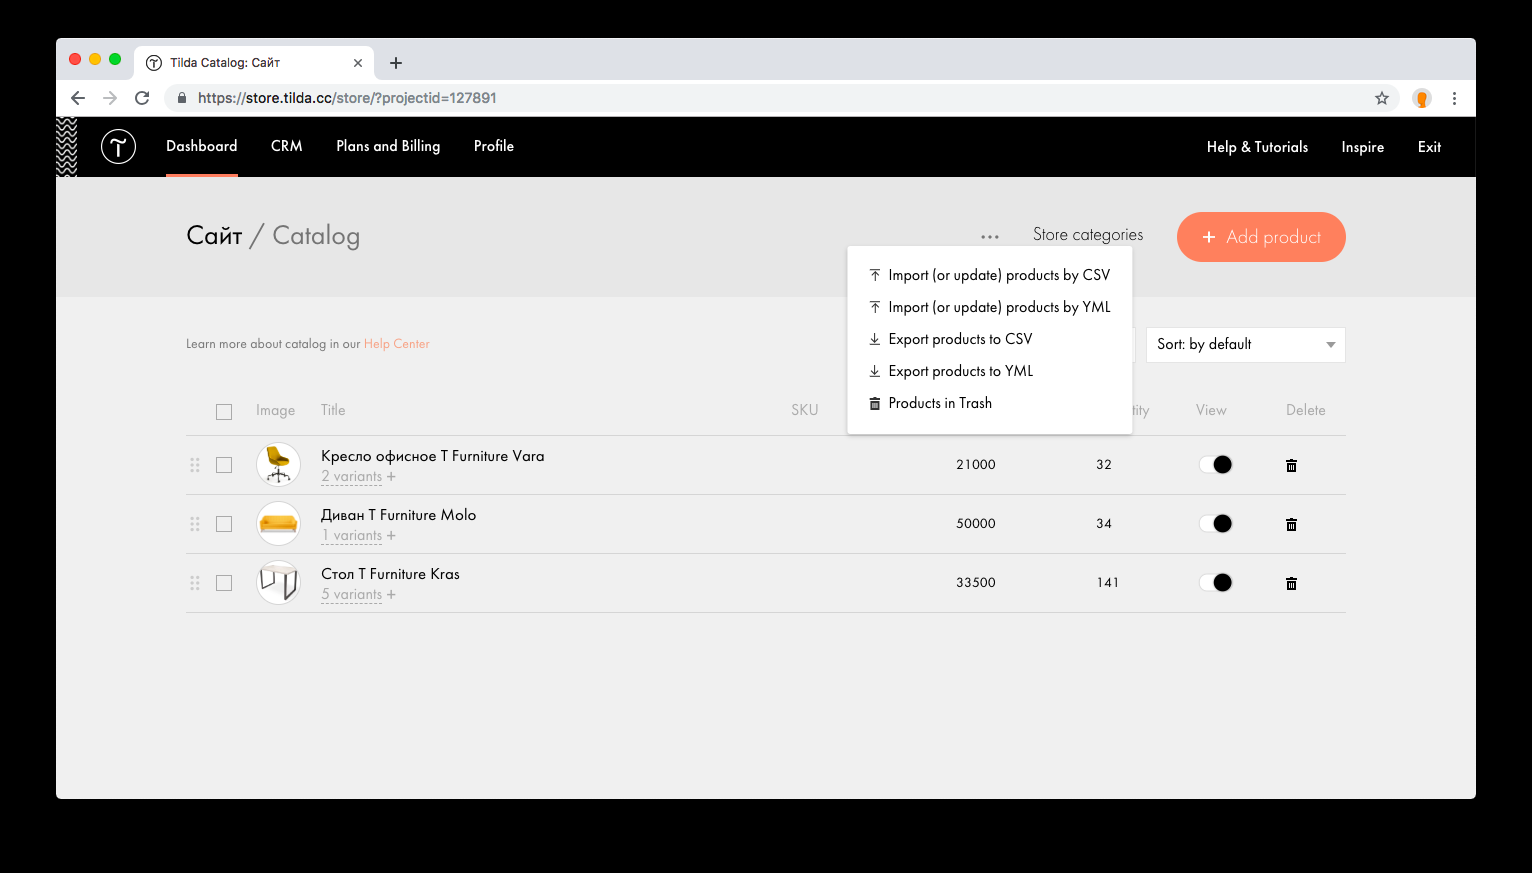
then click "+" and select format "Google Shopping (XML)"

After creating the upload template, you need to go into edit mode to select the fields to upload, to do this, click on the "Pencil" button
You can change the file name that will be generated when uploading data, to do this, double-click on the "File name" field. You can also add a date to the file, to do this, specify the macro substitution {DATE} in the name, to upload the date and time {DATETIME}, to upload only the time, specify {TIME}.
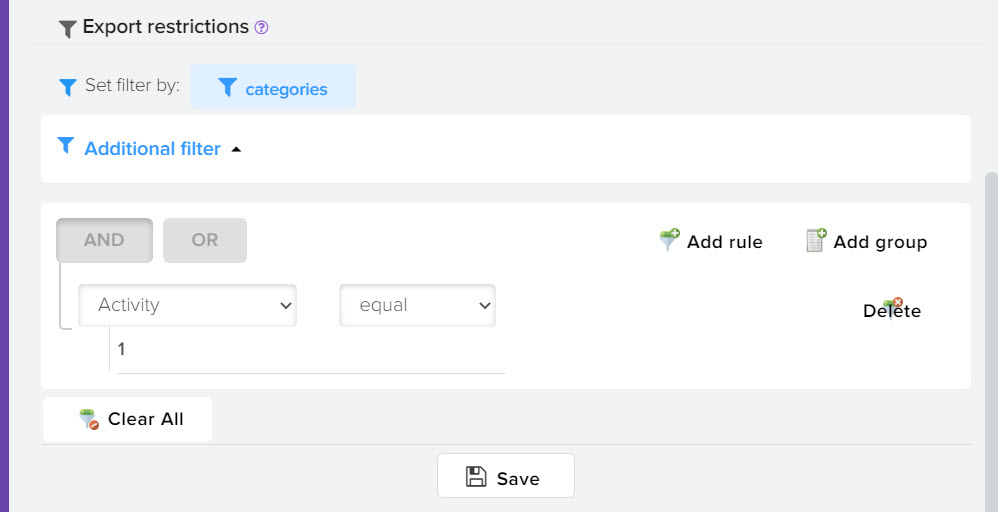
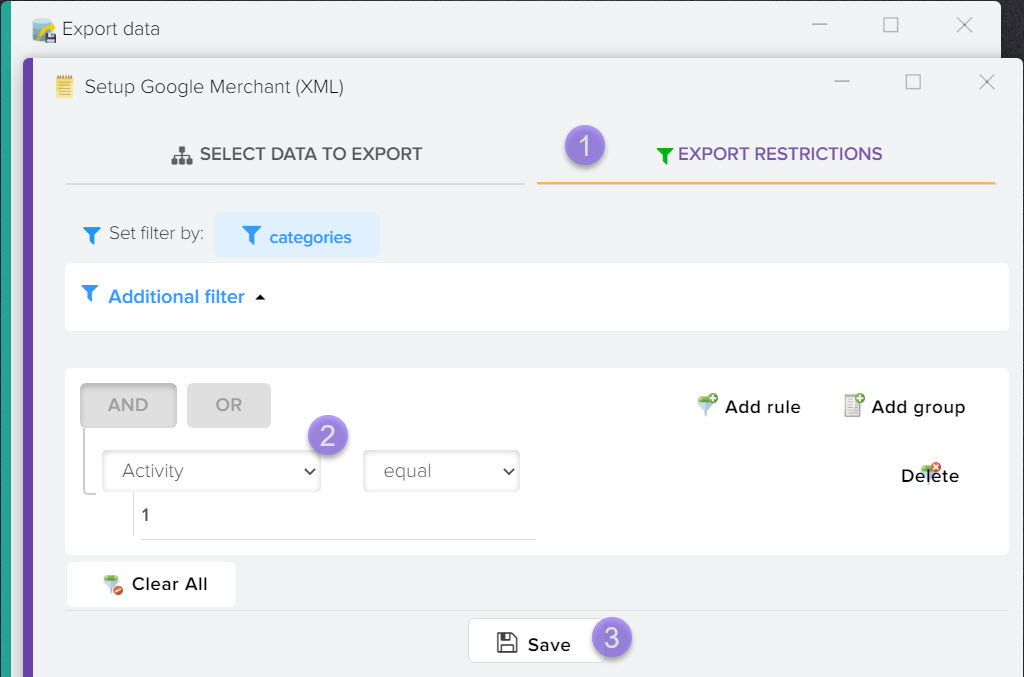
How to impose a restriction on uploading data
You can shorten the list of products for unloading, specify the conditions under which products should be unloaded, for example, it can be a certain category of products or the status "In stock", more details.


.png)
.png)
.png)